NuWave Oven: A Comprehensive User Manual Guide
This guide provides detailed instructions for operating your NuWave Oven, including setup, cooking modes, recipes, maintenance, and safety precautions.
Understanding Your NuWave Oven
The NuWave Oven utilizes innovative infrared technology for rapid and efficient cooking. Unlike conventional ovens that heat air, the NuWave directly heats food, preserving moisture and flavor. This oven boasts a complete cooking system, often accompanied by a detailed owner’s manual and cookbook. Familiarize yourself with the components – the base, cooking chamber, extension ring, and oven rack – as outlined in your user guide.
Understanding the control panel, whether digital or analog, is crucial. The manual details operating instructions, including cycle selection and temperature/time adjustments. Proper use of the oven rack and accessories, as demonstrated in the provided diagrams, optimizes cooking results. Remember to save these instructions for future reference and troubleshooting.
What is Infrared Cooking?
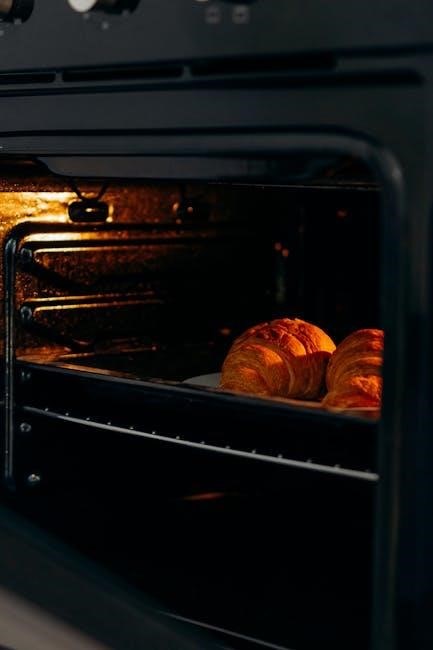
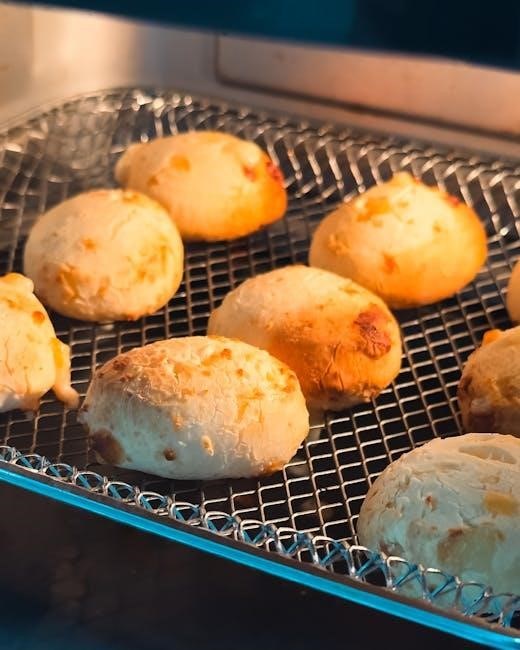
Infrared cooking, the core technology of the NuWave Oven, differs significantly from traditional methods. Instead of heating air within the oven, infrared energy directly penetrates and excites the water molecules within the food itself. This process cooks food from the inside out, resulting in faster cooking times and superior moisture retention.
The NuWave’s infrared system minimizes preheating and reduces energy consumption. This direct heating method also helps preserve essential nutrients and natural flavors. The owner’s manual explains how this revolutionary system works, detailing the benefits over conventional ovens. Understanding this principle is key to maximizing your NuWave Oven’s performance and achieving optimal cooking results.
Key Features of the NuWave Pro Oven
The NuWave Pro Oven boasts several innovative features enhancing the cooking experience. A prominent feature is its infrared cooking technology, ensuring rapid and even cooking while preserving moisture. The digital control panel, detailed in the owner’s manual, allows for precise temperature and time settings, alongside programmable cooking cycles for customized recipes.
Additional features include a versatile oven rack and various accessories for diverse cooking needs. The Pro model’s complete cookbook provides numerous recipe ideas and cooking charts. Users can easily access instructions and troubleshooting tips within the manual. These features combine to deliver a convenient, efficient, and versatile cooking solution.
Setting Up Your NuWave Oven
Proper setup involves checking all components, verifying the unit’s condition, and understanding basic controls before initial use, as detailed in the manual.
Initial Setup and Component Check

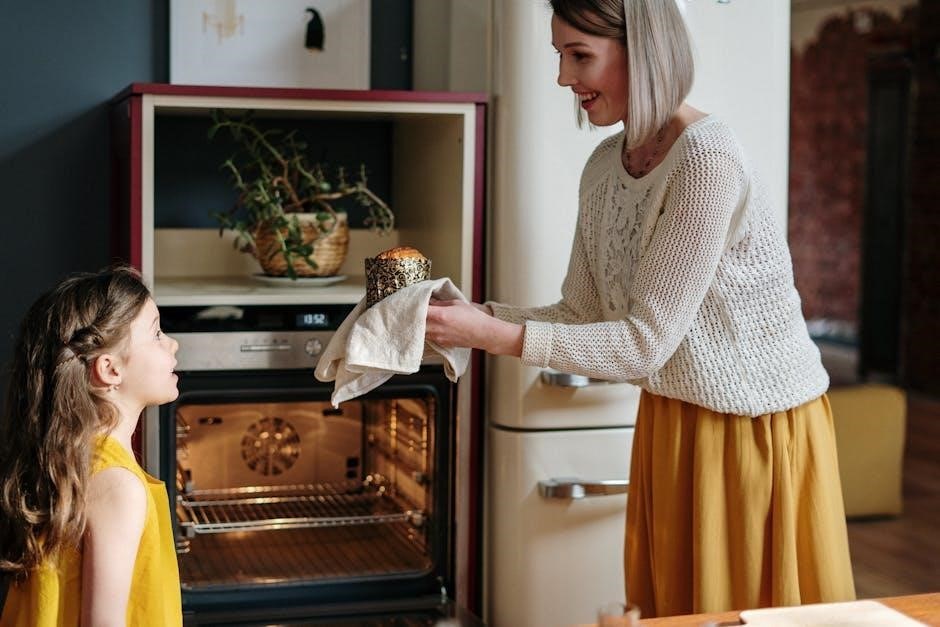
Before your first use, carefully unpack your NuWave Oven and verify all components are present. This includes the oven base, cooking dome, extension ring, oven rack, and the owner’s manual itself. Inspect each part for any shipping damage – report any issues immediately to the retailer. Ensure the power cord is in good condition, without cracks or fraying.
Familiarize yourself with the oven’s parts as illustrated in the manual. Properly position the oven on a stable, heat-resistant surface, away from flammable materials. Confirm the oven is clean and free of any packaging residue. The extension ring allows for cooking larger items; ensure it’s securely attached if needed. A thorough component check guarantees safe and optimal performance from the start.
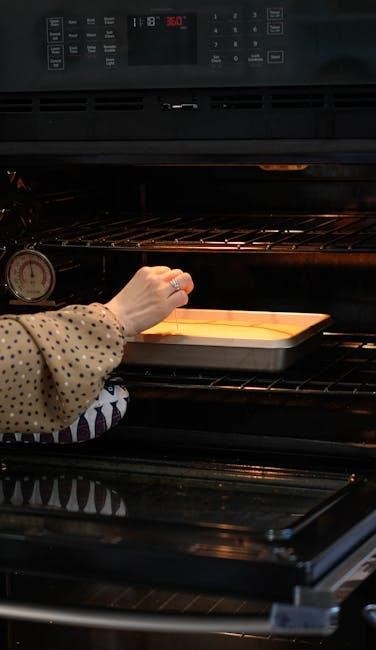
Powering On and Basic Controls
To power on your NuWave Oven, connect the power cord to a grounded electrical outlet. The oven will typically indicate it’s receiving power with a light or display. Basic controls usually involve a digital control panel for setting temperature and cooking time. Familiarize yourself with the ‘Start,’ ‘Stop,’ and ‘Temperature/Time’ adjustment buttons.
Some models feature pre-programmed settings for common foods. The manual details how to navigate these options. Understand how to adjust the cooking cycle – pausing, checking progress, or adding time. The oven rack’s position can also influence cooking results; refer to the manual for optimal placement. Always ensure the dome is properly secured before initiating a cooking cycle.
Cooking with Your NuWave Oven
Explore diverse cooking modes, precise temperature and time settings, and optimal use of the oven rack and included accessories for perfect results.
Understanding Cooking Modes
The NuWave Oven boasts several cooking modes designed for versatility and efficiency. Familiarize yourself with each function to achieve optimal results with different food types. The oven cycles through functions automatically, but understanding how to stop and restart them is crucial.
Typically, modes include roast, bake, broil, and sometimes a dedicated mode for reheating. Each mode utilizes infrared technology differently, impacting cooking speed and texture. The manual details how each mode distributes heat and suggests appropriate food pairings. Pay close attention to the operating instructions for each cycle, as they dictate the sequence of heating and cooling phases. Knowing when to interrupt a cycle allows for customized cooking adjustments, ensuring your meals are cooked to perfection.
Temperature and Time Settings
Precisely controlling temperature and time is vital for successful NuWave Oven cooking. The digital control panel (on Pro models) allows for granular adjustments, while simpler models utilize pre-set options. Always refer to recipe guidelines or cooking charts for recommended settings, as infrared cooking differs from conventional methods.
Understanding the oven’s temperature range and how it correlates to traditional oven temperatures is key. Time settings are equally important; overcooking can lead to dryness, while undercooking poses safety risks. The manual emphasizes starting with suggested times and adjusting based on food thickness and desired doneness. Experimentation is encouraged, but always prioritize food safety by verifying internal temperatures with a food thermometer.
Using the Oven Rack and Accessories
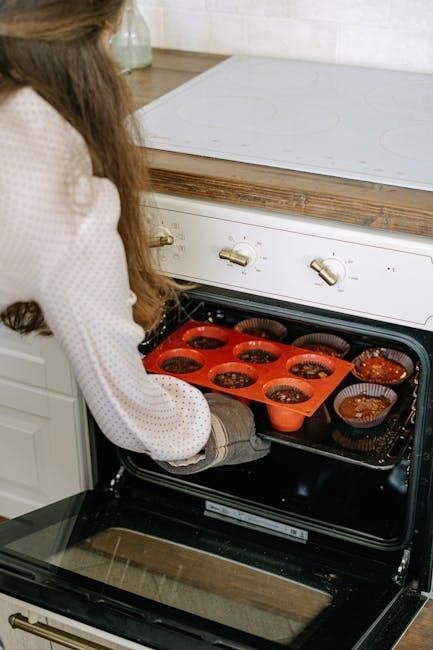
The NuWave Oven’s versatility is enhanced by its included rack and optional accessories. The oven rack elevates food, promoting even cooking and allowing for better air circulation. Proper rack placement is crucial; lower positions are ideal for browning, while higher positions suit delicate items.
Accessories, such as extension rings, increase cooking capacity for larger meals. The manual details how to correctly install and utilize these additions. Always ensure accessories are securely fitted before operation. Understanding the function of each component maximizes cooking efficiency and prevents uneven results. Refer to the provided diagrams for correct assembly and placement, ensuring optimal performance from your NuWave Oven.
Recipes and Cooking Charts
Discover delicious recipes and convenient cooking charts tailored for your NuWave Oven, ensuring perfectly cooked meals every time with ease!
Recommended Cooking Times for Common Foods
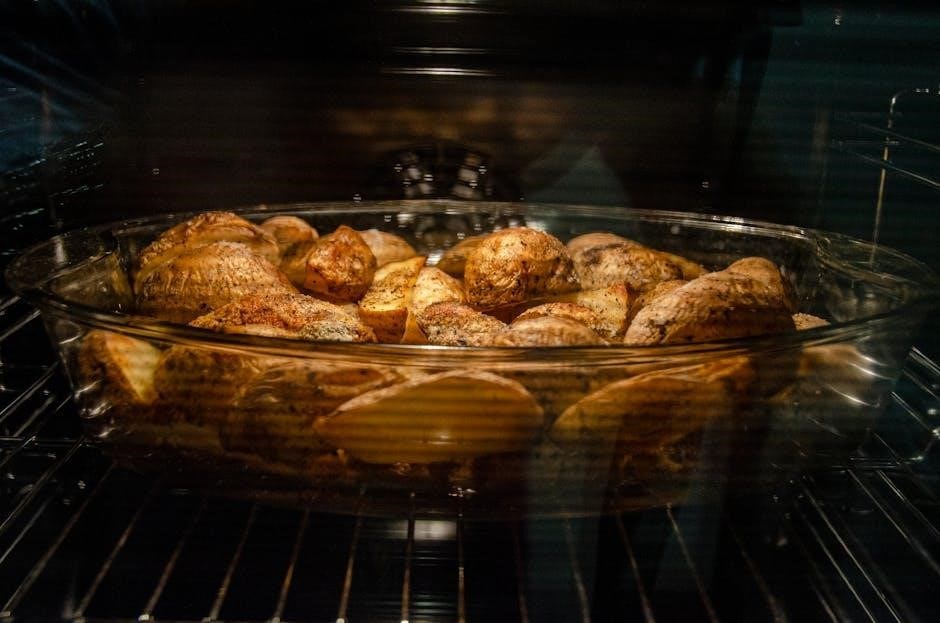
Utilizing your NuWave Oven efficiently requires understanding optimal cooking times for various foods. This chart provides a starting point, but adjustments may be needed based on food thickness and desired doneness. For chicken pieces, a typical cooking time ranges from 20-25 minutes at 350°F. Beef steaks, depending on thickness, generally take 15-20 minutes. Potatoes, halved or cubed, cook in approximately 30-40 minutes. Fish fillets usually require only 12-15 minutes.
Remember to always check internal temperatures with a food thermometer to ensure safety. Vegetables like broccoli and carrots benefit from shorter cooking times, around 10-15 minutes. These are estimates; always refer to the complete owner’s manual for detailed guidance and specific recipe instructions. Experimentation is encouraged to personalize cooking to your preferences!
NuWave Oven Recipe Ideas
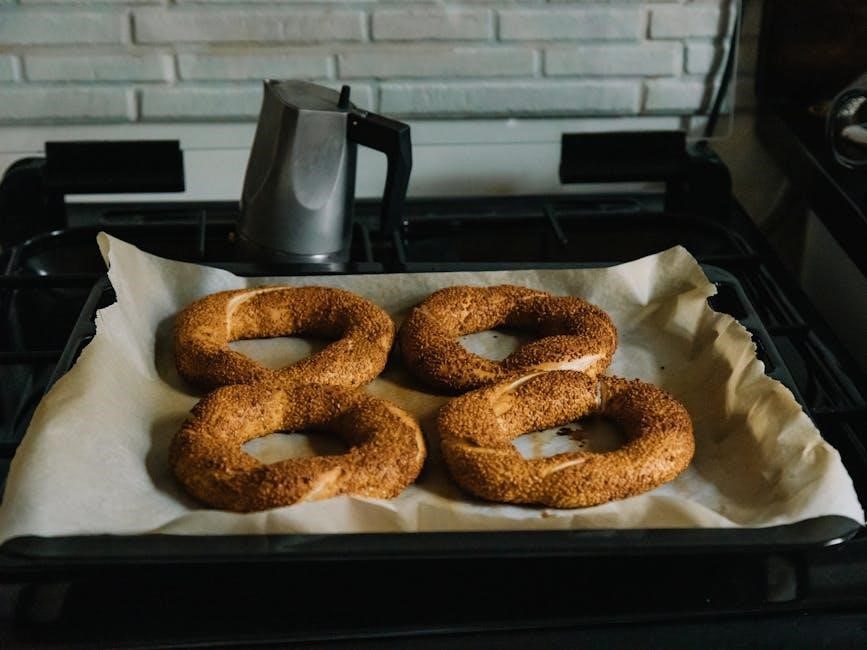
Explore the versatility of your NuWave Oven with these exciting recipe suggestions! Try a succulent roasted chicken – simply season and cook for approximately 60-75 minutes at 325°F. For a quick weeknight meal, prepare salmon fillets with lemon and herbs, cooking for just 15-20 minutes. Delicious baked potatoes are achievable in around 45 minutes. Consider a hearty beef stew, utilizing the oven’s consistent heat for tender results over 90 minutes.
Don’t forget about desserts! A small apple crisp can be baked to golden perfection in about 30 minutes. Refer to the included cookbook or online resources for a wider range of recipes tailored specifically for infrared cooking. Experiment and enjoy!
Maintenance and Troubleshooting
Regular cleaning ensures optimal performance. Address common issues like uneven cooking or error messages using the guide, or contact support for assistance.
Cleaning Your NuWave Oven
Maintaining a clean NuWave Oven is crucial for optimal performance and longevity. Always disconnect the oven from the power source before cleaning. The cooking well and oven rack are typically dishwasher safe, offering convenient cleaning. For stubborn residue, a mild detergent and warm water solution works effectively; avoid abrasive cleaners that could damage the surface.
The exterior can be wiped down with a damp cloth. Ensure all components are thoroughly dried before reassembly. Regularly cleaning prevents buildup that can affect cooking results and potentially create odors. Refer to the owner’s manual for specific cleaning recommendations related to your model, as materials and finishes may vary. Proper cleaning contributes to a safe and enjoyable cooking experience.
Common Issues and Solutions
Encountering issues with your NuWave Oven is sometimes unavoidable, but many are easily resolved. If the oven doesn’t power on, check the power cord and outlet. Uneven cooking can often be addressed by adjusting cooking times or using the oven rack correctly. Smoke during operation may indicate excessive food debris; a thorough cleaning is recommended.
Error messages, if displayed on digital models, should be referenced in the owner’s manual for specific troubleshooting steps. If the oven isn’t reaching the set temperature, ensure proper ventilation. For persistent problems, consult the manual’s troubleshooting section or contact NuWave customer support for assistance. Always prioritize safety when addressing any oven malfunction.
Replacing Parts and Accessories
Maintaining your NuWave Oven often requires replacing worn or damaged parts. Common replacements include the cooking dome, oven rack, and extension ring. NuWave offers genuine replacement parts through their official website and authorized retailers like Amazon. Ensure you have the model number of your oven when ordering to guarantee compatibility.
Replacing parts is generally straightforward, but always disconnect the oven from the power source before attempting any repairs. Refer to the owner’s manual for specific instructions related to your model. If you’re uncomfortable performing the replacement yourself, consider contacting a qualified appliance repair technician. Using non-genuine parts may void the warranty.
Safety Precautions
Always follow important safety guidelines when using the NuWave Oven, avoiding common mistakes to prevent injury and ensure optimal performance.
Important Safety Guidelines
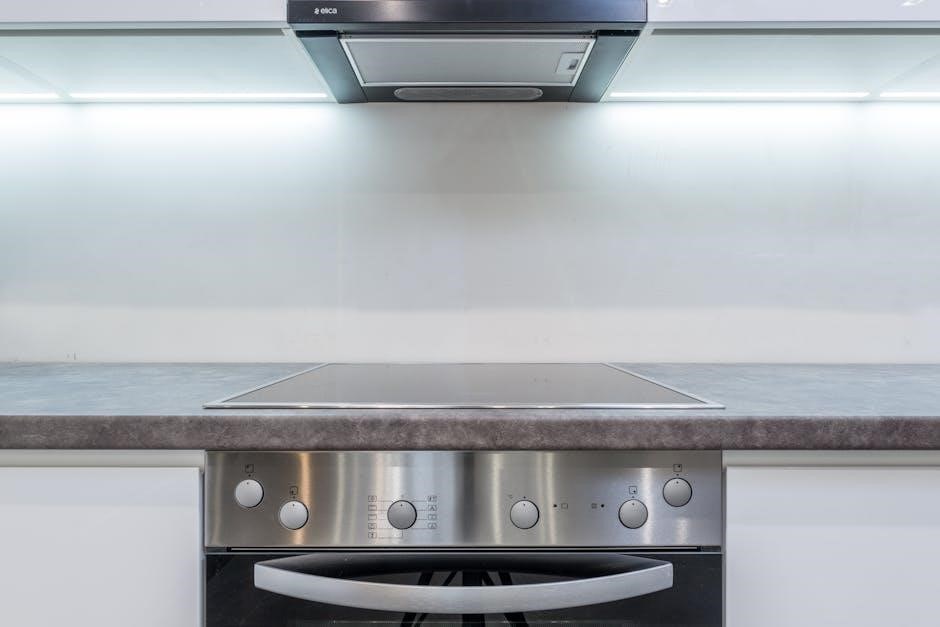
Before operating your NuWave Pro Infrared Oven, carefully read and understand all instructions within this manual. Ensure the oven is placed on a stable, heat-resistant surface, away from flammable materials. Never immerse the base or power cord in water or other liquids. Always unplug the oven when not in use and before cleaning.
Avoid touching hot surfaces; use oven mitts or handles. Do not operate the oven if the power cord or plug is damaged. Keep the oven out of reach of children. Never attempt to repair the oven yourself; contact qualified service personnel for assistance. Ensure proper ventilation during operation. Do not use outdoors. Always allow the oven to cool completely before cleaning or storing.
Avoiding Common Mistakes
A frequent error is overcrowding the oven, hindering proper infrared heat circulation – cook in batches for optimal results. Failing to utilize the oven rack correctly can lead to uneven cooking; ensure food isn’t directly touching the heating element. Ignoring recommended cooking times often results in undercooked or overcooked food; consult the cooking charts.
Forgetting to preheat the oven impacts cooking consistency. Incorrectly setting the temperature or time controls is another common issue. Avoid using metal containers or foil inside the oven. Regularly cleaning the oven prevents buildup and ensures efficient operation. Always unplug before cleaning. Finally, never attempt to operate a damaged unit; seek professional repair.
Advanced Features (Pro Models)
Pro models boast a digital control panel and programmable cooking cycles, offering customized cooking experiences and precise temperature/time management.
Using the Digital Control Panel
The digital control panel on Pro models streamlines operation. Utilize the intuitive buttons to navigate cooking modes – roast, bake, broil, and more. Precisely set temperature and cooking time using the corresponding controls. The panel displays crucial information, including remaining cook time and current temperature.
Programming custom cycles allows for tailored cooking experiences. Explore functions like delay start for convenient meal preparation. The control panel also features a stop/cancel button to interrupt the cooking process. Refer to the detailed diagrams in your owner’s manual for specific button functions and troubleshooting tips. Mastering the digital interface unlocks the full potential of your NuWave Pro Oven, ensuring consistently delicious results.
Programming Custom Cooking Cycles
Advanced NuWave Pro models empower users with custom cooking cycle programming. This feature allows precise control over temperature and time sequences for unique recipes. Begin by selecting the “Program” function on the digital control panel. Input desired temperature and time intervals, creating a multi-stage cooking process.
For example, you can program a cycle to sear at a high temperature followed by a lower temperature for slow cooking. Save frequently used custom cycles for quick access. Remember to consult your owner’s manual for detailed instructions and safety guidelines when programming. Experimenting with custom cycles unlocks culinary creativity and ensures perfectly cooked meals tailored to your preferences.