Rexing Dash Cam Manual: A Comprehensive Guide
This manual details Rexing dash cam operation, covering setup, features like dual cameras and GPS, troubleshooting, and legal considerations for optimal use․
Rexing dash cams are designed to provide reliable recording of your driving experience, offering peace of mind and potential evidence in unforeseen events․ From basic models like the V1, known for its steady daytime capture, to advanced systems such as the V360 with its dual-camera setup, Rexing caters to diverse needs․
These cameras often include features like loop recording, G-sensor technology for impact detection, and optional GPS functionality․ Understanding your Rexing dash cam’s capabilities is crucial for maximizing its benefits․ This guide will walk you through everything from initial setup and operation to troubleshooting common issues and exploring advanced settings, ensuring you get the most out of your investment․
Understanding Dash Cam Features
Rexing dash cams boast a range of features enhancing road safety and documentation․ Loop recording automatically overwrites older footage, ensuring continuous recording without filling the memory card․ The G-sensor detects impacts, locking and saving critical footage․ Dual-camera systems, like the V360, capture both front and rear views for comprehensive coverage․
Optional GPS modules record speed and location data, valuable for incident analysis․ Wi-Fi connectivity allows for easy footage transfer to mobile devices via a dedicated app․ Resolution settings impact video clarity; higher resolutions require more storage space․ Understanding these features empowers users to customize their dash cam for optimal performance and protection․
Rexing V1 Dash Cam – Basic Operation
The Rexing V1 offers simple operation: install, power on, adjust settings, and record․ A GPS module is available, enhancing its functionality․
Initial Setup and Installation
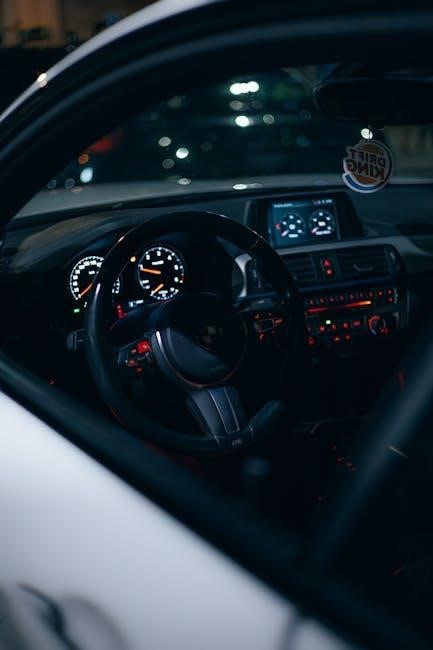
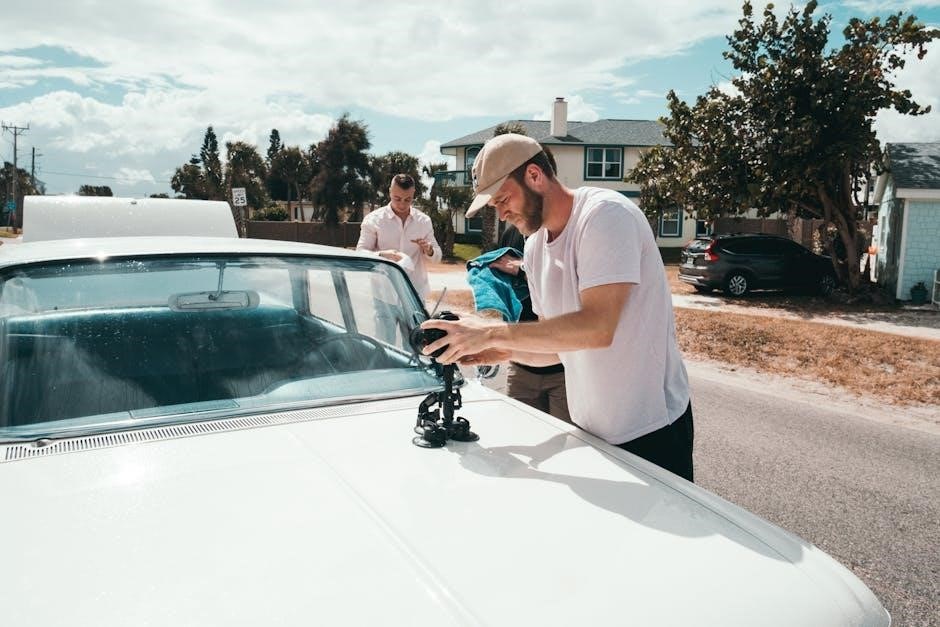
Before first use, carefully unpack your Rexing dash cam and inspect all components․ Proper installation is crucial for optimal performance․ Begin by securely mounting the dash cam to your vehicle’s windshield using the provided suction cup mount – ensure a clear view of the road․
Next, insert a compatible microSD card (see Memory Card Compatibility section) to store recorded footage․ Connect the power cable to the dash cam and your vehicle’s cigarette lighter or utilize a hardwiring kit for continuous operation․
Ensure the power cable is discreetly routed to avoid obstructing your vision or interfering with vehicle controls․ Finally, verify the camera is positioned correctly and the view is unobstructed before powering on․
Powering On/Off and Recording
To power on your Rexing dash cam, simply connect it to a power source – either the cigarette lighter or a hardwired connection․ The camera will automatically begin recording upon startup, indicated by a flashing red light․ To manually start or stop recording, use the designated button on the device; a solid red light signifies active recording․
Powering off is typically achieved by disconnecting the power source․ Some models feature a dedicated power off function accessible through the menu․ The dash cam may also automatically power off after a period of inactivity to conserve battery․ Ensure continuous power for parking mode functionality․
Adjusting Recording Settings (Resolution, Loop Recording)
Access the Rexing dash cam’s settings menu via the button interface and navigate to recording options․ Resolution settings allow you to choose video quality – higher resolutions (like 1080p or 4K) provide clearer footage but require more storage space․ Experiment to find a balance suitable for your needs․
Loop recording is a crucial feature, automatically overwriting older footage when the memory card is full, ensuring continuous recording․ Configure the loop recording segment length (e․g;, 1, 3, or 5 minutes) based on your preference․ Other adjustable settings may include exposure, white balance, and date/time formatting․
Memory Card Compatibility and Management
Rexing dash cams require a microSD card for recording․ Ensure compatibility by using a card that meets the specified class (typically Class 10 or UHS-I) and capacity (32GB to 128GB is common)․ Higher capacity cards allow for longer recording times․ Regularly format the memory card within the dash cam’s settings menu – this optimizes performance and prevents errors․
Avoid removing the card while the camera is powered on․ Periodically back up important footage to a computer to free up space and safeguard against data loss․ Check the card for errors using a computer’s disk utility if the dash cam reports issues․ Replace the card if it becomes unreliable․
Rexing V360 Dash Cam – Advanced Features
The V360 boasts a dual-camera system, capturing both front and rear views simultaneously, offering comprehensive coverage and enhanced situational awareness while driving․
Dual Camera System Overview
The Rexing V360 distinguishes itself with its innovative dual-camera design, providing a significantly broader recording perspective than single-camera dash cams․ This system simultaneously captures footage from both the front and rear of your vehicle, creating a comprehensive record of your surroundings․ This is particularly valuable in incidents involving rear-end collisions or events occurring behind your car․
The front camera typically handles the primary recording, focusing on the road ahead, while the rear camera provides crucial context and evidence of what’s happening behind you․ While some models lack infrared for optimal night vision, the dual-lens setup enhances overall safety and provides a more complete picture of any driving event․ This expanded field of view is a key advantage of the V360․
Installation of Front and Rear Cameras
Proper installation is crucial for optimal performance of the Rexing V360’s dual-camera system․ Begin by securely mounting the front camera on your windshield using the provided suction cup mount, ensuring a clear view of the road․ Route the rear camera cable discreetly along the vehicle’s interior, typically along the headliner and down the rear windshield pillar․
Carefully connect the rear camera to the front camera unit, ensuring a snug and secure connection․ Avoid obstructing your rearview mirror or driver visibility․ Test the system after installation to confirm both cameras are recording correctly․ Consider professional installation if you are uncomfortable with vehicle wiring or routing cables․
Configuring the V360 Recording Modes
The Rexing V360 offers versatile recording modes to suit various driving scenarios․ Access these settings through the dash cam’s menu system․ Choose from simultaneous recording, where both front and rear cameras record concurrently, or individual camera recording․ Explore loop recording options to automatically overwrite older footage, preventing memory card overflow․
Customize recording resolution and frame rates for optimal video quality․ Enable parking mode to automatically record when motion is detected while parked, providing security․ Familiarize yourself with the available settings to tailor the V360’s performance to your specific needs and driving conditions for comprehensive coverage․
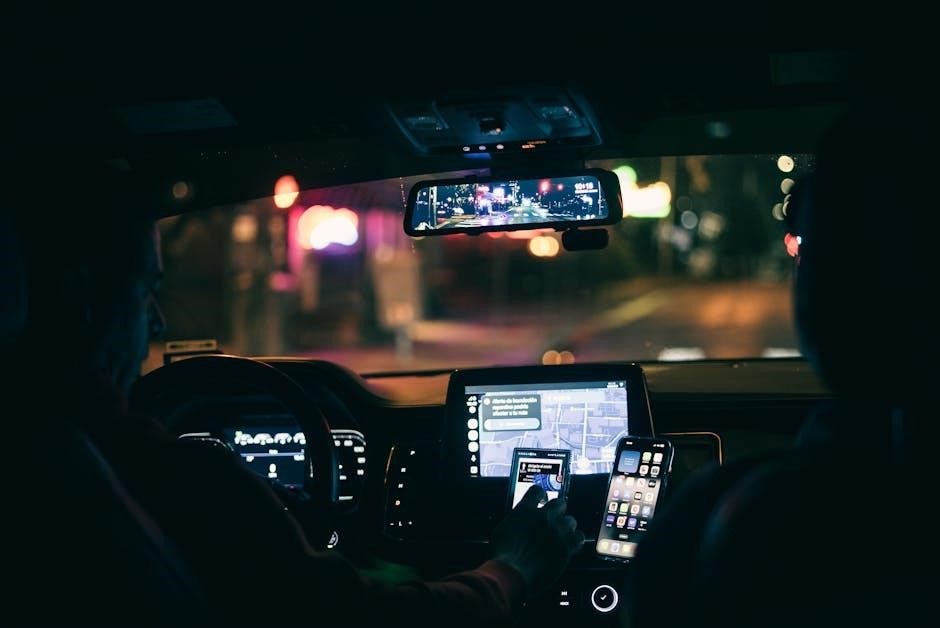
Wi-Fi Connectivity and Mobile App Integration
The Rexing V360 boasts built-in Wi-Fi, enabling seamless connectivity to your smartphone․ Download the Rexing app (available on iOS and Android) to unlock advanced features․ Connect the dash cam to your phone’s Wi-Fi network to view live footage, download recorded videos, and adjust settings remotely․
The app facilitates easy file management and sharing of important clips․ Utilize the app to update the dash cam’s firmware, ensuring optimal performance and access to the latest features․ Explore the app’s intuitive interface for convenient control and monitoring of your Rexing V360 dash cam system․

Troubleshooting Common Issues
Resolve recording, video quality, or memory card errors with our guide․ We cover solutions for GPS functionality and ensure smooth dash cam operation․
Camera Not Recording
If your Rexing dash cam isn’t recording, first verify the memory card is properly inserted and formatted․ Ensure it meets the camera’s compatibility requirements – check the manual for supported capacities and speed classes․ Next, confirm the camera has sufficient power; a loose connection or failing power adapter can prevent recording․
Check the recording settings within the camera’s menu․ Loop recording might be disabled, or the camera could be set to manual mode․ Also, examine the G-sensor settings; excessively high sensitivity might trigger constant recording interruptions․ If the issue persists, try a different memory card to rule out a card failure․ Finally, a firmware update could resolve software glitches causing the problem․
Poor Video Quality
Suboptimal video quality from your Rexing dash cam often stems from resolution settings․ Ensure the camera is set to the highest available resolution for clearer footage․ Check the lens for smudges, dust, or fingerprints and clean it gently with a microfiber cloth․ Insufficient lighting conditions can also degrade video quality; consider enabling Wide Dynamic Range (WDR) if available․
Verify the memory card’s write speed; a slow card can cause frame drops and blurry video․ Additionally, confirm the camera’s firmware is up-to-date, as updates frequently include image processing improvements․ Daytime capture is exceptionally steady, but night recording may require adjustments to exposure settings․ Finally, ensure the camera is securely mounted to minimize vibrations․
Memory Card Errors
Encountering memory card errors with your Rexing dash cam is common, but often easily resolved․ First, ensure you’re using a compatible microSD card – check the manual for supported capacities and speed classes (typically Class 10 or UHS-I)․ Formatting the card within the dash cam’s settings is crucial; do not format on a computer․ A corrupted card may require reformatting, but persistent errors indicate a failing card needing replacement․
Verify the card isn’t full․ If it is, older footage will be overwritten with loop recording, but a completely full card can cause issues․ Avoid cheap or counterfeit cards, as they are prone to failure․ Regularly check the card for errors using a computer’s disk utility․
GPS Functionality (if applicable) – Setup and Usage
If your Rexing dash cam includes a GPS module, proper setup is essential for accurate speed and location data․ Begin by physically connecting the GPS module to the dash cam, usually via a mini-USB port․ Within the dash cam’s settings menu, navigate to the GPS section and ensure it’s enabled․ Allow the camera sufficient time to acquire a satellite signal – this may take several minutes, especially on the first use or in obstructed areas․
Verify the correct time zone is selected for accurate timestamping․ The GPS data is then overlaid onto your video footage, providing valuable evidence in case of an incident․ Regularly check for GPS signal strength to ensure reliable tracking․
Rexing Dash Cam Settings Explained
Explore customizable options including G-sensor sensitivity, parking mode, timestamp adjustments, and audio recording controls for a tailored dash cam experience․
G-Sensor Sensitivity Adjustment
The G-Sensor detects impacts and automatically saves the footage as an event file, protecting it from loop recording overwrites․ Adjusting the sensitivity is crucial for optimal performance․ Lower sensitivity means only significant impacts trigger recording, reducing false events․ Higher sensitivity records even minor bumps, potentially filling your storage quickly․
Rexing dash cams typically offer Low, Medium, and High sensitivity settings․ Start with Medium and review recorded events․ If too many insignificant events are captured, lower the sensitivity․ Conversely, if important incidents aren’t being recorded, increase it․ Regularly check event files to ensure the G-Sensor is functioning correctly and capturing crucial moments․ Proper adjustment ensures reliable evidence capture when needed․
Parking Mode Configuration
Rexing dash cams offer Parking Mode for surveillance while your vehicle is parked, detecting motion or impacts․ This requires a constant power source, typically achieved with a hardwiring kit connected to the car’s battery․ Configure Parking Mode through the dash cam’s settings menu, selecting either motion detection or impact recording, or both․
Motion detection records when movement is sensed, while impact recording activates upon detecting a collision․ Adjust sensitivity levels to minimize false alerts․ Be mindful of battery drain; prolonged Parking Mode use can deplete the car battery․ Some Rexing models offer low-voltage cut-off to prevent this․ Ensure proper hardwiring kit installation for safe and reliable operation․
Timestamp Settings and Time Zone
Accurate timestamps are crucial for dash cam footage, providing verifiable evidence in incidents․ Rexing dash cams allow you to customize the date and time format displayed on recordings․ Access the settings menu to adjust these parameters, ensuring they align with your preference – typically MM/DD/YYYY or DD/MM/YYYY․
Correct time zone configuration is equally important․ Select your region or manually set the time zone offset to guarantee accurate recording times․ Incorrect time settings can compromise the validity of your footage․ Regularly verify the timestamp and time zone, especially after daylight saving time adjustments, to maintain reliable and legally sound recordings․
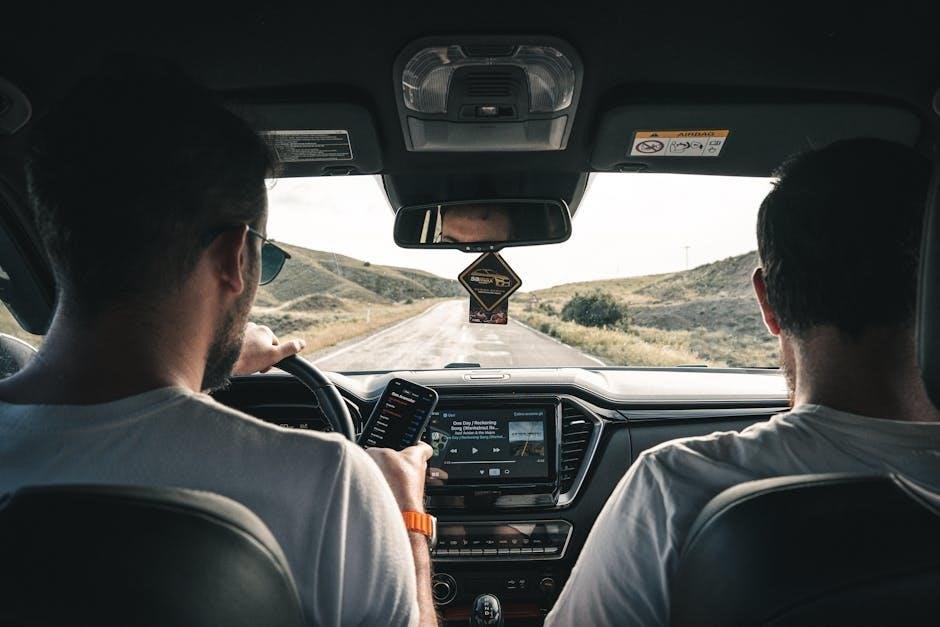
Audio Recording Options
Rexing dash cams often include built-in microphones for capturing audio alongside video footage, providing a more complete record of events․ Within the settings menu, you’ll typically find options to enable or disable audio recording․ Consider local laws regarding audio recording in vehicles; some jurisdictions require consent from all parties․
Adjusting the audio sensitivity can optimize recording quality․ Higher sensitivity captures quieter sounds but may introduce more background noise․ Lower sensitivity reduces noise but might miss crucial audio details․ Experiment to find the optimal setting for your driving environment․ Regularly check microphone functionality to ensure clear audio capture during incidents․
Maintaining Your Rexing Dash Cam
Regular cleaning, firmware updates, and battery checks ensure optimal performance and longevity of your Rexing dash cam, safeguarding your driving records․
Cleaning and Care
Maintaining a clean Rexing dash cam is crucial for optimal video quality․ Regularly wipe the lens with a soft, lint-free microfiber cloth to remove dust, fingerprints, and smudges․ Avoid using harsh chemicals or abrasive cleaners, as these can damage the lens coating․ The camera housing can be cleaned with a slightly damp cloth․
Pay attention to the suction cup mount, ensuring it’s free of debris for a secure attachment to the windshield․ Periodically inspect the cables for any signs of wear or damage․ Proper care extends the lifespan of your dash cam and ensures clear, reliable recordings, protecting your investment and providing valuable evidence when needed․ Avoid direct sunlight exposure for prolonged periods․
Firmware Updates
Keeping your Rexing dash cam’s firmware updated is essential for optimal performance and access to the latest features․ Regularly check the official Rexing website for available updates․ Download the firmware file to your computer and then follow the instructions provided in the manual to transfer it to your dash cam via a microSD card․
Firmware updates often include bug fixes, improved stability, and enhanced functionality․ Always ensure the dash cam has sufficient battery power or is connected to a power source during the update process to prevent interruptions․ A failed update could render the device unusable, so follow the steps carefully․
Replacing the Battery
Rexing dash cams utilize internal batteries to maintain settings and enable parking mode functionality․ While not designed for continuous operation on battery power alone, replacement may be necessary over time as battery capacity diminishes․ Consult your specific model’s manual for detailed instructions, as battery access varies․
Typically, this involves carefully opening the dash cam’s casing, disconnecting the old battery, and connecting a compatible replacement․ Ensure the new battery has the correct voltage and connector type; Improper battery handling can cause damage or pose a safety risk; exercise caution and disconnect the power source before proceeding;
Dealing with Overheating
Rexing dash cams, like any electronic device, can experience overheating, especially in direct sunlight or during prolonged recording in high ambient temperatures․ If your dash cam feels excessively hot, immediately power it off and disconnect it from the power source․ Avoid leaving the device exposed to extreme heat for extended periods․
Ensure adequate ventilation around the dash cam; do not cover it with objects that restrict airflow․ Consider relocating the camera to a shaded area within the vehicle․ If overheating persists, contact Rexing support for assistance, as it may indicate a hardware issue requiring professional attention․

Rexing Dash Cam Accessories
Enhance your Rexing dash cam with optional accessories like GPS modules, hardwiring kits, alternative mounts, and external microphones for expanded functionality․
GPS Module Installation and Use
Integrating a GPS module with your Rexing dash cam adds valuable location and speed data to your recordings․ Installation typically involves connecting the module to the dash cam via a designated port, often USB․ Ensure a secure connection for reliable functionality․
Once connected, the dash cam will automatically record GPS coordinates alongside video footage․ This data is crucial for accurately documenting incidents and providing evidence in case of disputes․ Accessing the GPS information usually requires connecting the dash cam to a computer and utilizing Rexing’s companion software․
The software displays a map showing the vehicle’s route, speed, and timestamps․ Note that the V1 model specifically requires a separate GPS purchase for this feature, costing approximately $30․ Proper GPS setup enhances the overall utility and evidentiary value of your Rexing dash cam․
Hardwiring Kit Installation
A hardwiring kit allows your Rexing dash cam to draw power directly from your vehicle’s electrical system, enabling continuous operation even when the ignition is off – crucial for parking mode․ Installation requires accessing and tapping into a suitable fuse box circuit, typically one that’s ignition-activated or constantly powered․
Caution: Incorrect wiring can damage your vehicle’s electrical system․ If you’re uncomfortable with automotive electrical work, professional installation is highly recommended․ The kit includes fuses, wiring, and connectors․ Carefully follow the included instructions, ensuring proper grounding and fuse selection․
Once installed, the dash cam will automatically power on and off with the ignition (or remain on in parking mode, depending on configuration)․ Hardwiring eliminates the need for a visible power cable and ensures your dash cam is always ready to record․
Suction Cup Mount Alternatives
While the included suction cup mount is versatile, alternative mounting options exist for a more secure or discreet Rexing dash cam installation․ Adhesive mounts offer a permanent, low-profile solution, bonding directly to your windshield; These require careful placement as removal can be difficult․
Vent mounts clip onto your vehicle’s air vents, providing a convenient and adjustable position, though they may obstruct airflow․ Dashboard disk mounts utilize a sticky gel pad that adheres to your dashboard, offering stability on textured surfaces․
Consider your driving style and vehicle interior when choosing an alternative․ Ensure any mount doesn’t impede your vision or interfere with vehicle controls․ Regularly check the mount’s security to prevent the dash cam from detaching during operation․
Microphone Options
Rexing dash cams typically include a built-in microphone for recording audio alongside video, capturing crucial evidence in incidents․ However, the internal microphone’s quality can vary․ For enhanced audio clarity, consider utilizing an external microphone․
External microphones connect via the dash cam’s microphone input jack, offering improved sensitivity and noise reduction․ These are particularly useful in noisy vehicle environments or for capturing conversations clearly․ Options range from compact clip-on microphones to more sophisticated directional microphones․
Ensure compatibility with your specific Rexing model before purchasing an external microphone․ Check the dash cam’s manual for supported microphone types and input specifications․ Proper microphone placement is key for optimal audio recording․

Rexing Dash Cam Legal Considerations
Understand local laws regarding dash cam usage, privacy concerns, and data security when utilizing a Rexing dash cam for potential legal evidence․
Local Laws Regarding Dash Cam Usage
Before operating your Rexing dash cam, it’s crucial to research and understand the specific laws governing their use in your region․ Regulations vary significantly; some jurisdictions may prohibit audio recording without consent, or restrict placement that obstructs the driver’s view․
Certain areas might require visible notification that recording is in progress․ Failing to comply with these laws could lead to fines or legal repercussions․ Always prioritize adherence to local statutes regarding video and audio capture while driving․ Check state and municipal guidelines to ensure responsible and lawful dash cam operation․ Awareness of these regulations protects your rights and avoids potential legal issues․
Privacy Concerns and Data Security
Rexing dash cams record video and potentially audio, raising important privacy considerations․ Be mindful of capturing footage of individuals without their knowledge, especially in public spaces․ Secure your memory card to prevent unauthorized access to recorded data․
Regularly review your dash cam’s settings to understand data storage practices and encryption options, if available․ Consider the implications of sharing footage online, ensuring sensitive information is redacted․ Prioritize data security by using strong passwords and keeping your dash cam’s firmware updated to address potential vulnerabilities․ Responsible usage respects the privacy of others and safeguards your own data․
Evidence Admissibility in Legal Cases
Rexing dash cam footage can serve as valuable evidence in legal disputes, such as traffic accidents․ However, admissibility depends on several factors, including compliance with local laws regarding recording and data preservation․ Maintaining a clear chain of custody – documenting when and how footage was obtained and stored – is crucial․
Ensure the footage is unaltered and accurately represents the event․ Timestamp accuracy is vital; verify the dash cam’s time settings are correct․ Familiarize yourself with your jurisdiction’s rules of evidence․ While dash cam footage is often persuasive, it doesn’t guarantee a favorable outcome; legal counsel can advise on its proper presentation․